46 Posts - Page: 1 | 2 | 3 | Next

1969 Datsun B20, Restoration

Welcome to my build diary
 
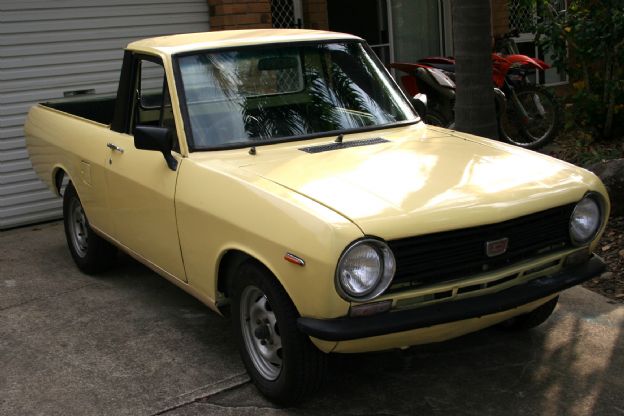
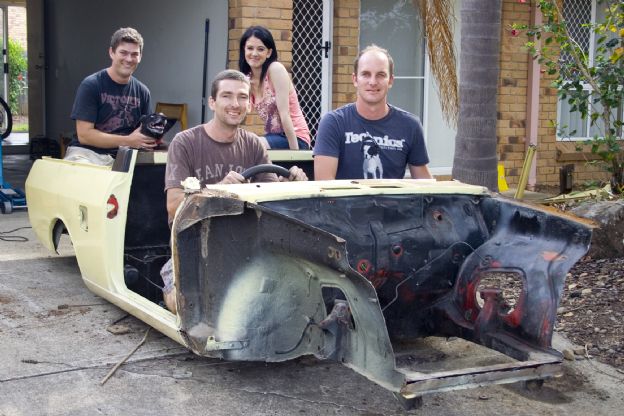
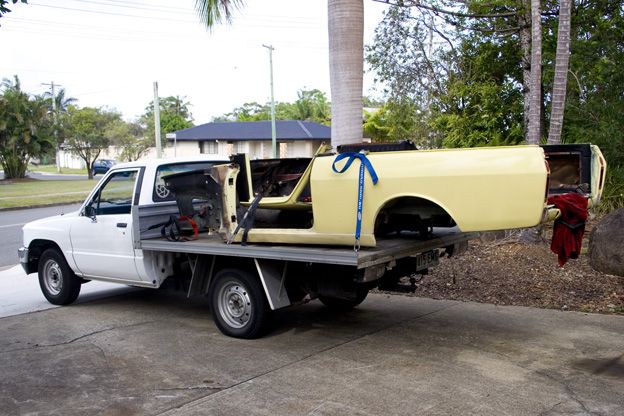
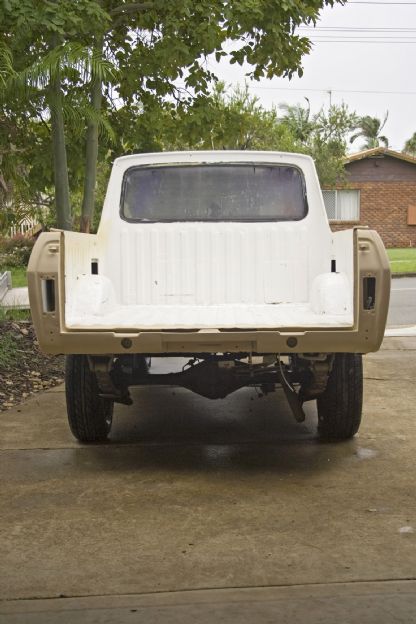
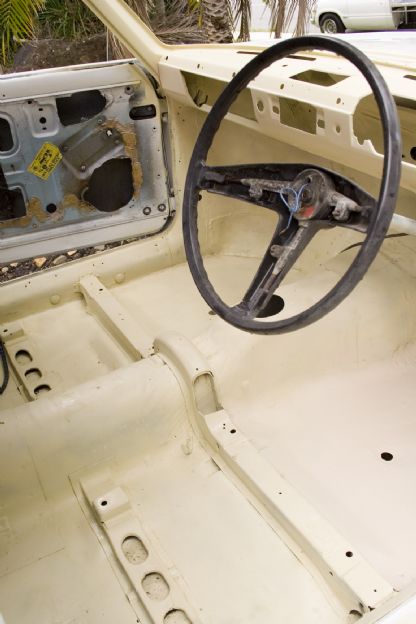
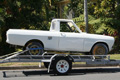
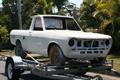
I have started my first car build, a restoration of my 1968 datsun 1000 ute.

I have decided to document my progress on this web page, both for my own reference and for anybody who is interested in keeping an eye on my build along the way.

Things will probably move along slowly as I am building this from my weekly pay. I am expecting it to take roughly 2 years to do, But I guess time will tell.

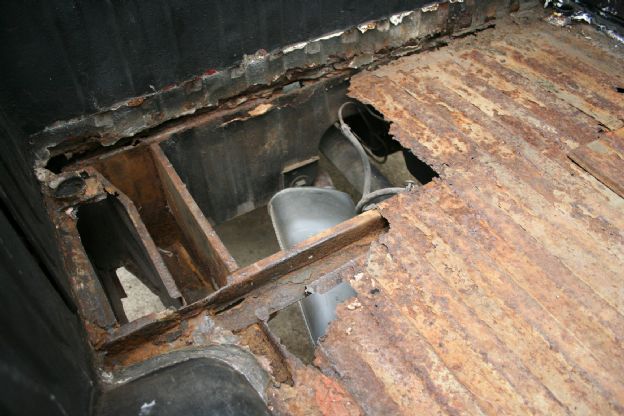
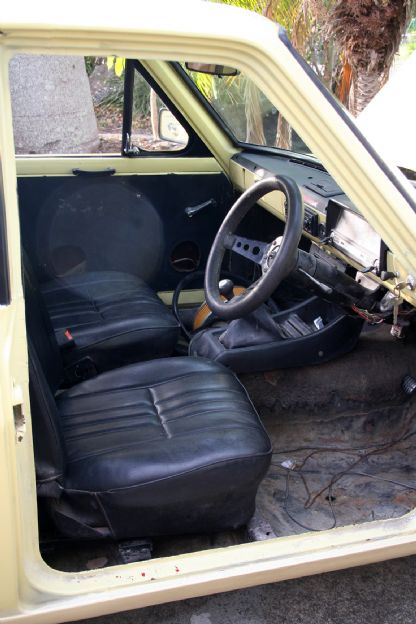
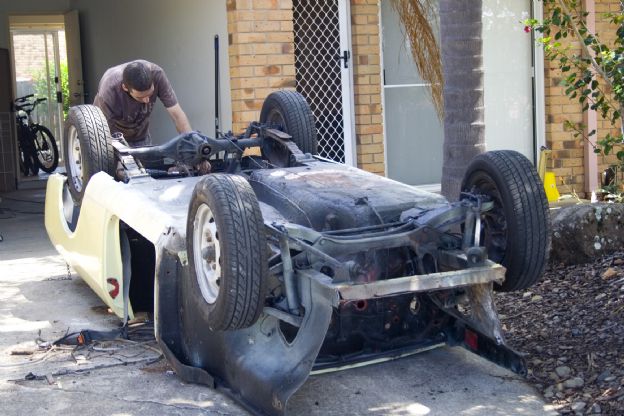
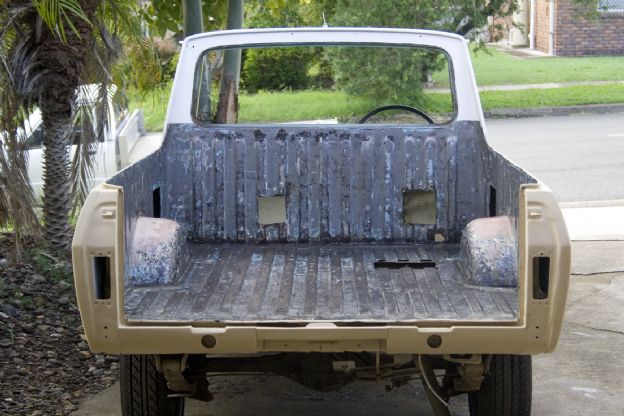
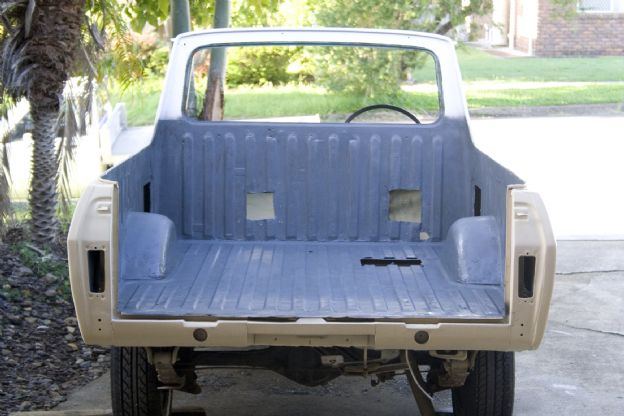
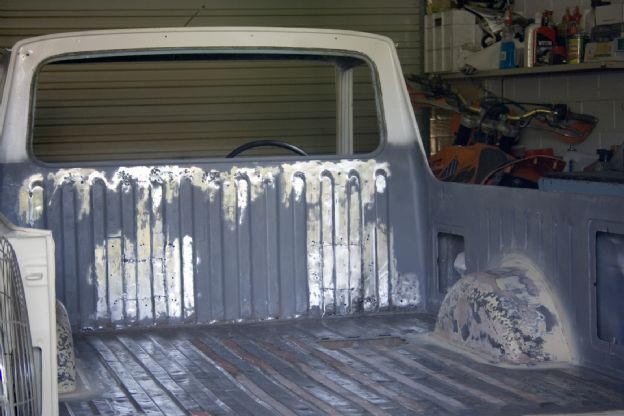
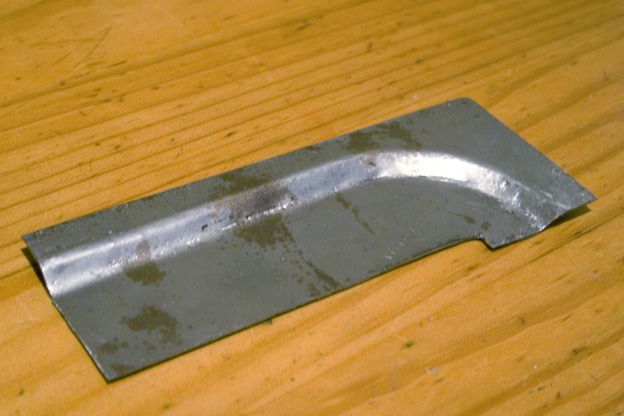
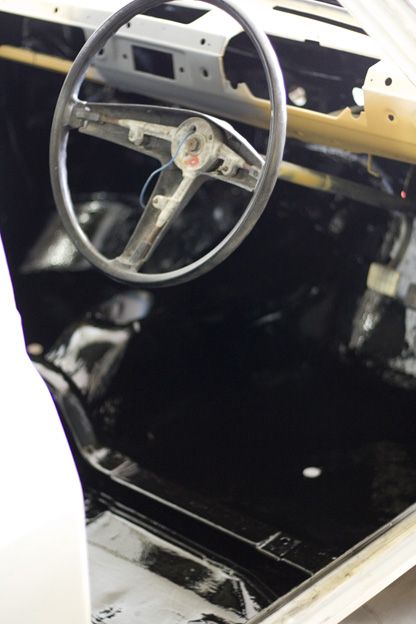
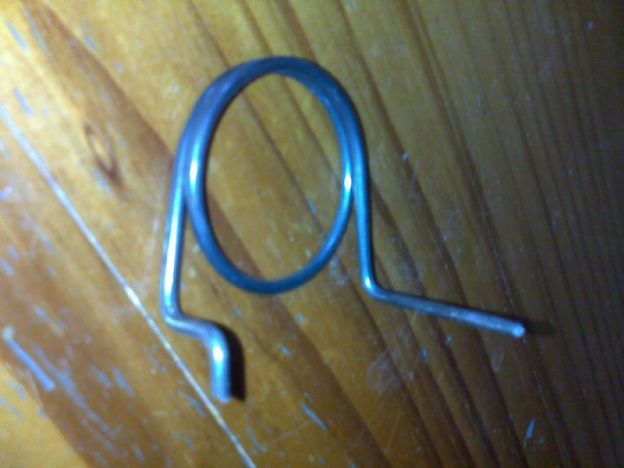
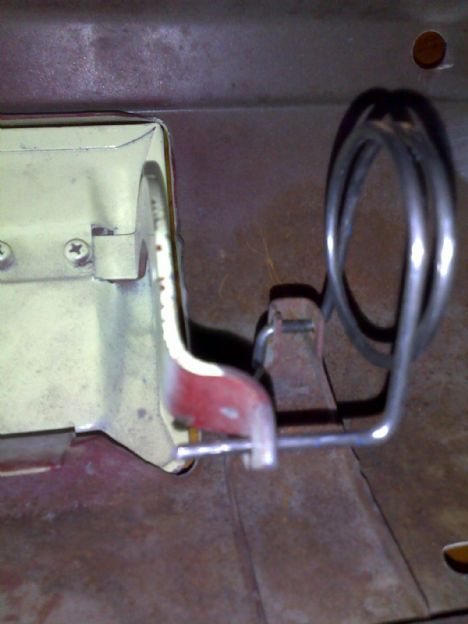
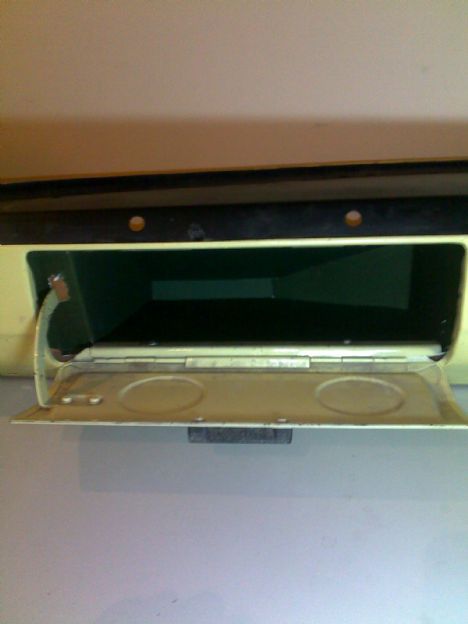
Anyway here are some pics of my Datto when I got it.
 
1967 Datsun B10 2 Door.
Donor Datto

I bought another 1000 off ebay to use as my daily driver while restoring my ute. I bought it without seeing it as it was cheap and far away and it had some good parts. Once I bought the yellow ute home I realised it had too much rust to use. It had got into the chassis pretty bad and the tray was as strong as wet toilet paper. This ute ended up being used for parts, windscreen, seats, indicators tail lights ect. So now I have heaps of spares.


The more I looked the more I found.


After taking off just about everything I could, I flipped the car over to get at the steering and suspension... Ghetto hoist.


This is the donor datto just before getting rid of the shell, Only 100kg of datsun was thrown.


Goodbye yellow Datsun, We will miss you.
1967 Datsun B10 2 Door.
Fixing things up


Fixing up the badge.


Straightening up the splash pan. It is a shame that I never took a pic of this when I started, It had a huge crease through the center of it.


The Rear in primer filler after straightening.


Inside all cleaned up. I must have removed at least 2 litres of dirt from the floor.
1967 Datsun B10 2 Door.
I bought a cheap M.I.G. yesterday

Not too much to say other than I had to try out my new toy, so I decided to cover up some holes where a roll bar had been mounted.

Im not too worried about geting it perfect as I plan on having the tray sprayed up in rhino lining, And according to the website linings are applied between 2mm and 4mm so it should cover any small imperfections.

When it comes closer to doing the lining I will do my final prep and get things a bit nicer.

1967 Datsun B10 2 Door.
I couldn't help myself

It only took me 1 day to decide that I shouldn't leave the wheel arches how they were, I decided to fix them up and start on removing all the paint and stone guard from inside my tray.


A few days later and its all off and preped for some primer.


All sealed up with primer...

Now that I know what repairs I have to do in my tray. I have a big rusty hole in the front passanger corner of the tray, some large holes on the cab wall that some idiot has cut out and some tiny pin holes to patch, I don't think thats too bad for a ute of it's age.
1967 Datsun B10 2 Door.
The big holes

Well The big holes are now patched up.

My friend Jason is going to help me cover these over with a single layer of Fiberglass on each side of the patches, and the same to any small holes This should make them disappear and hopefully not show through in the future.

I don't want to use body filler on the small holes. ( I don't want them to crack or pop out after everything is painted).Which is why im going to use the fibreglass.


I have also decided to fill in all the dents on the ridges of my tray with fiberglass body filler, I got most of them out with a hammer and dolly, But some are over the chassis and I just can't get to them.


I have made up a replacement section for a rust hole in the front corner of my tray (Passenger side). It is not perfect but I am very pleased with how it has come up as it is the first panel I have ever tried to make. It was about an hour of careful hammering.


The repair section is welded in, I have also made a small plate to fix up some rust in the corner. I am much happier about my datto now that it hasn't got large holes in it. I am not too concerned with any tiny holes as they will be cleaned up, rust converted and covered over with fiberglass and rhino lining.


I have decided to repair the box section that runs across the tunnel and under the seat rails, It isn't the neatest job (I had to fill in the top where the flat piece I have made up fits under the curved profile of the box section to get it joined). Im not too worried as Im sure I can get it looking neat when im finished.
1967 Datsun B10 2 Door.
Fibreglass


Jason came over quickly today and started on the glassing for me. What a champ.


All patched up.


After beating out the large dents and filling in the small dents in with fiberglass filler, Its time to skim everything over with some regular body filler.
1967 Datsun B10 2 Door.
Slow progress

I havn't given any updates for a while, not too much has changed.
I havn't been spending as much time in the garage as I should be.
Here are some pics of where things are now anyway...


After welding in new metal Jason came over and glassed over my work and I have since filled it over with some fiberglass filler. It is not finished yet, although I could easily get away with leaving it how it is now as it is going to be hidden by carpet. I want it to be as good as I can make it so that I don't regret taking short cuts later.


The tray is almost finished on the top side of the floor, But just like my tunnel I want to get it as good as I can before the rhino lining goes on. I have started on some holes on the sides of the tray and welded up some holes on the back wall where somebody had screwed carpet onto it at some point.I have also straightened out the very back face of
the floor in my tray.
1967 Datsun B10 2 Door.
The holey datsun

I have started fixing up the many holes that have been drilled into my interrior over the years.


There were a great deal of holes made to attach carpet, so many more than this photo shows.


I have filled some holes in my dash where gauges and things had been fitted.
1967 Datsun B10 2 Door.
Under the car
I have been buying a lot of new pieces for my ute so my cupboard is getting full...but I havn't been spending much time doing any real work, so its time to do some more..


I have neatened up under the rust repair section that I made for my tray.


Here is a bit of rust under the floor that I have started to repair.


After cutting out, wire wheeling and rust converting the rusty stuff, Here it is with new metal welded in.


I have now got to clean up 42 years of road scumm…
1967 Datsun B10 2 Door.
Sealing under the car

I am using KBS rust sealer under my ute to seal everything up.


I am very happy with this product, here is a pic of me painting it on...


I will put up some more photos of this when I have the satin black top coat on.
1967 Datsun B10 2 Door.
Radio

I have decided to put a retro sound model one radio in my datto.

So to do this I have welded in the old radio hole that had been cut larger than stock.


This is a photo from a previous post, but I have used it again to show how things were before I patched up the hole.


Next I will have to take back my welds and cut a proper hole for the face to go through...


Here is the dash ready to cut holes in for the new radio.


All mounted and ready for painting. ( I will put a little more time ino shaping, but it is mostly done).
1967 Datsun B10 2 Door.
Sealing windscreens and gutters

I have decided to clean up the gutters and windscreen to seal them with KBS rust seal.
Also I have welded up the hole on my roof where an antenna had been mounted.


This is after taking up to 3mm of body filler out of the gutters and around the windscreen.


I don't understand why anybody would cover them over in the first place as it was all perfect, no rust or damage at all.


All sealed up, I have also sealed the inside of my cab with KBS rust seal.


This should stop any rust from forming if I get a leak in the future.
1967 Datsun B10 2 Door.
Glove box

I have decided to try and create a new glove box as my old one was pretty bad.
Before I could begin I had to create a new spring for the door, As I did not have the original one.
This is what I came up with.


This took me about an hour to do as I had no idea where it went or what it should look like.


Here it is in place on the old dash from the yellow datsun, It works perfectly.


Here is my second rough copy. I think I am going to use this green card board on the finished glove box, as I am painting the car an olive green.It has a great texture that could pass as a  factory option. (Matt board from a picture framing shop)
I used the old glovebox as a rough template but some corners and tabs were missing and it was a bit warped.


Here is Andrew turning my drawing into a PDF so anybody else with a 1000 can make a new glove box as well.
1967 Datsun B10 2 Door.
Rubber suspension cover 1

I have been trying to remake some rubber suspension covers in my engine bay. I only have one which is old and torn.


This is a pic of my old one sitting in the engine bay.

I decided to make up a jig to try heating and stretching some neoprene over.

I am not too sure if it will work or not, I suspect that the rubber will not hold it's shape completely.

This project has taken alot of my time so I thought I would give an update with what I have been up to, regardless of weather I succeed or fail here it is....


My first step was to make a block to sretch the neoprene over.
I screwed it together and used liquid nails to make this as rigid as possible.


Filling in all the seams with body filler.


All the bits sitting roughly in place with the original rubber there for checking sizes.


The first try, in this pic the neoprene is still hot, I wonder what suprises are waiting for me when I try to release it from my jig.
1967 Datsun B10 2 Door.
Rubber suspension cover 2

The rubber held its shape better than I had expected for a first try.

This is my part after a day and a half of heating/cooling, stretching/relaxing and letting it sit in my jig under load.


This is made from 1.5mm neoprene sheet, I am thinking of trying 3mm.

I'll see what the guys at the rubber store think...

I still have to work out how to get it to hold more of its shape, maybe a taller block with a bit more taper.


I have test fitted my first try, as this photo shows, I need to get more stretch from the rubber.


-------------------------------------------------------------EDIT-------------------------------------------------------------


The neoprene part is flatening out as it relaxes :(

I now have a 3mm sheet, I expect similar results but am going to try anyway to know for sure.

Before I change my mould I am going to try one more time and pin the second part closer to the mould to eliminate as
much flex in the excess sheet as I can.

-------------------------------------------------------------EDIT-------------------------------------------------------------

The 3mm neoprene split as I was stretching it down on my jig, I think pining it too close to the mould didn't leave enough material to stretch over my block.

Oh well, I guess it's time to find a new approach, I have found a sheet of acrylic in the garrage, so some time in the next few days I will try it and see how that comes out.

If that forms well I may end up using it to make a mould from.
 
-------------------------------------------------------------EDIT-------------------------------------------------------------


I tried to make an acrylic part to make a mould from, I think I need to start with a slightly larger sheet and it will work.

The top left corner let go and the sheet went all wavy.

That uses up what I had lying around, so I will have to buy some now. 

At least I did my learning with scrap. I'll see if the sign writers near work can help me with some offcuts.
1967 Datsun B10 2 Door.
Glove box 2

I have spent a little more time trying to perfect the sizes on my glove box template.

It is still not finished yet, but I'm getting closer.Sorry to those who are still waiting for me to finish this.

Here is the process so far...


Tape matt board good face down.

(craft stores or picture framing stores sell matt board for around $15 a sheet 30 x 20 inches, I picked up 5 sheets for $20 on sale, so I can have a few attempts now).


Tape downloaded template over top of matt board. (When this is finished office works will print this for $2.05cents in black and white).


Poke holes through template onto matt board with a compass or needle.


Join all holes with a pencil.


Cut out shapes.


Score all lines with a knife on back side of matt board.


I creased the front face of my matt board with a glass cutter, this will ensure a neat fold.


The red line here should be scored on and 1mm either side to allow card to compress when folded up.


Fold all tabs over a square edge. (The red line is to be folded reverse to all other folds).

(The 2 folds on the top of the largest piece and the fold on the right piece do not require a full 90deg bend).


I got confused and scored the red line on the opposite side of the matt board, this is a neat example of what will happen if the red line is not scored on and beside the red line in an earlier step.


All folded up and taped together, (I am still not sure how to staple these yet, I'll probably end up gluing mine)


Held in place in my car.(Still a few slight changes to do yet, but it's close)
1967 Datsun B10 2 Door.
Rubber suspension cover 3

Not too much progress yet, I think this is going to be a long term project, Each time I think I have the end in sight I find I have only touched the surface on what is required to make this part.

I intend on sticking it out and finishing my part.

Here is what I have learned so far...


The acrylic sheet needs to be heated all the way through, I extended my oven with aluminium foil to fit my part.


This is still around 20mm too short to cover the suspension properly , So I need to change my jig.

And then I will have to cast a fibreglass mould from my new acrylic shape.

I never thought I would go through such effort for a bit of rubber.


My rubber arrived today.

I still need to make up the moulds. It will be a while…
1967 Datsun B10 2 Door.
Apron

I have made a start on fixing the apron from the front of my ute.

The apron I have decided to use is from a 1000 ute I bought for spare parts. (My yellow one) Although there were was tons of bog covering dents and some slight creases, it was in far better shape than the apron currently on my ute.

So after a great deal of carefull hammering, welding up some holes and welding up a small tear this is where I am at after nearly 2 days of work


Here it is with some spray putty, I still have a little bit of sanding to do yet.

Overall I am happy with how this has come out.
1967 Datsun B10 2 Door.
Engine bay

Well now that I have some more spare time for the datto...


It looks as If my ute has had a slight front end crash at some stage, the passenger headlight surround needed some work with the hamer and dolly, as did the lower edge of the radiator hole, And the hole for the front bumper mounting bracket had been torn. But now everything is straight and the hole has been welded up.

Also I have welded in a plate to fill up a hole on the firewall about the size of a 50cent coin, that was cut out at some stage.(Im guessing for a heater hose).


This pic explains itself, I have just been filling up holes. I still have many more holes to fill up over the next few days.
1967 Datsun B10 2 Door.
46 Posts - Page: 1 | 2 | 3 | Next